Welcome to the next segment in our amazing Eaglemoss/Fanhome die-cast Ecto-1 build series. What began on the Ghostbusters Interdimensional Crossrip podcast continues here on the HQ website in a bit more detail. Want to build along with us? You can start from issue one (or if you started before Eaglemoss ghosted us all, you can also sign up to resume where you left off with Fanhome).
Last time on the show, we build Issue 29. You can check that out here. But this go-round, we’re diving into Issue 30, which really starts to put some of the finishing touches on the exterior of the Ecto and really bring it together.
Issue 30 has a few challenging steps, but still not the hardest among those (that distinction continues to belong to some of the initial engine building stages and for one particularly harrowing stage coming up in Issue 31. More on that in the next edition).
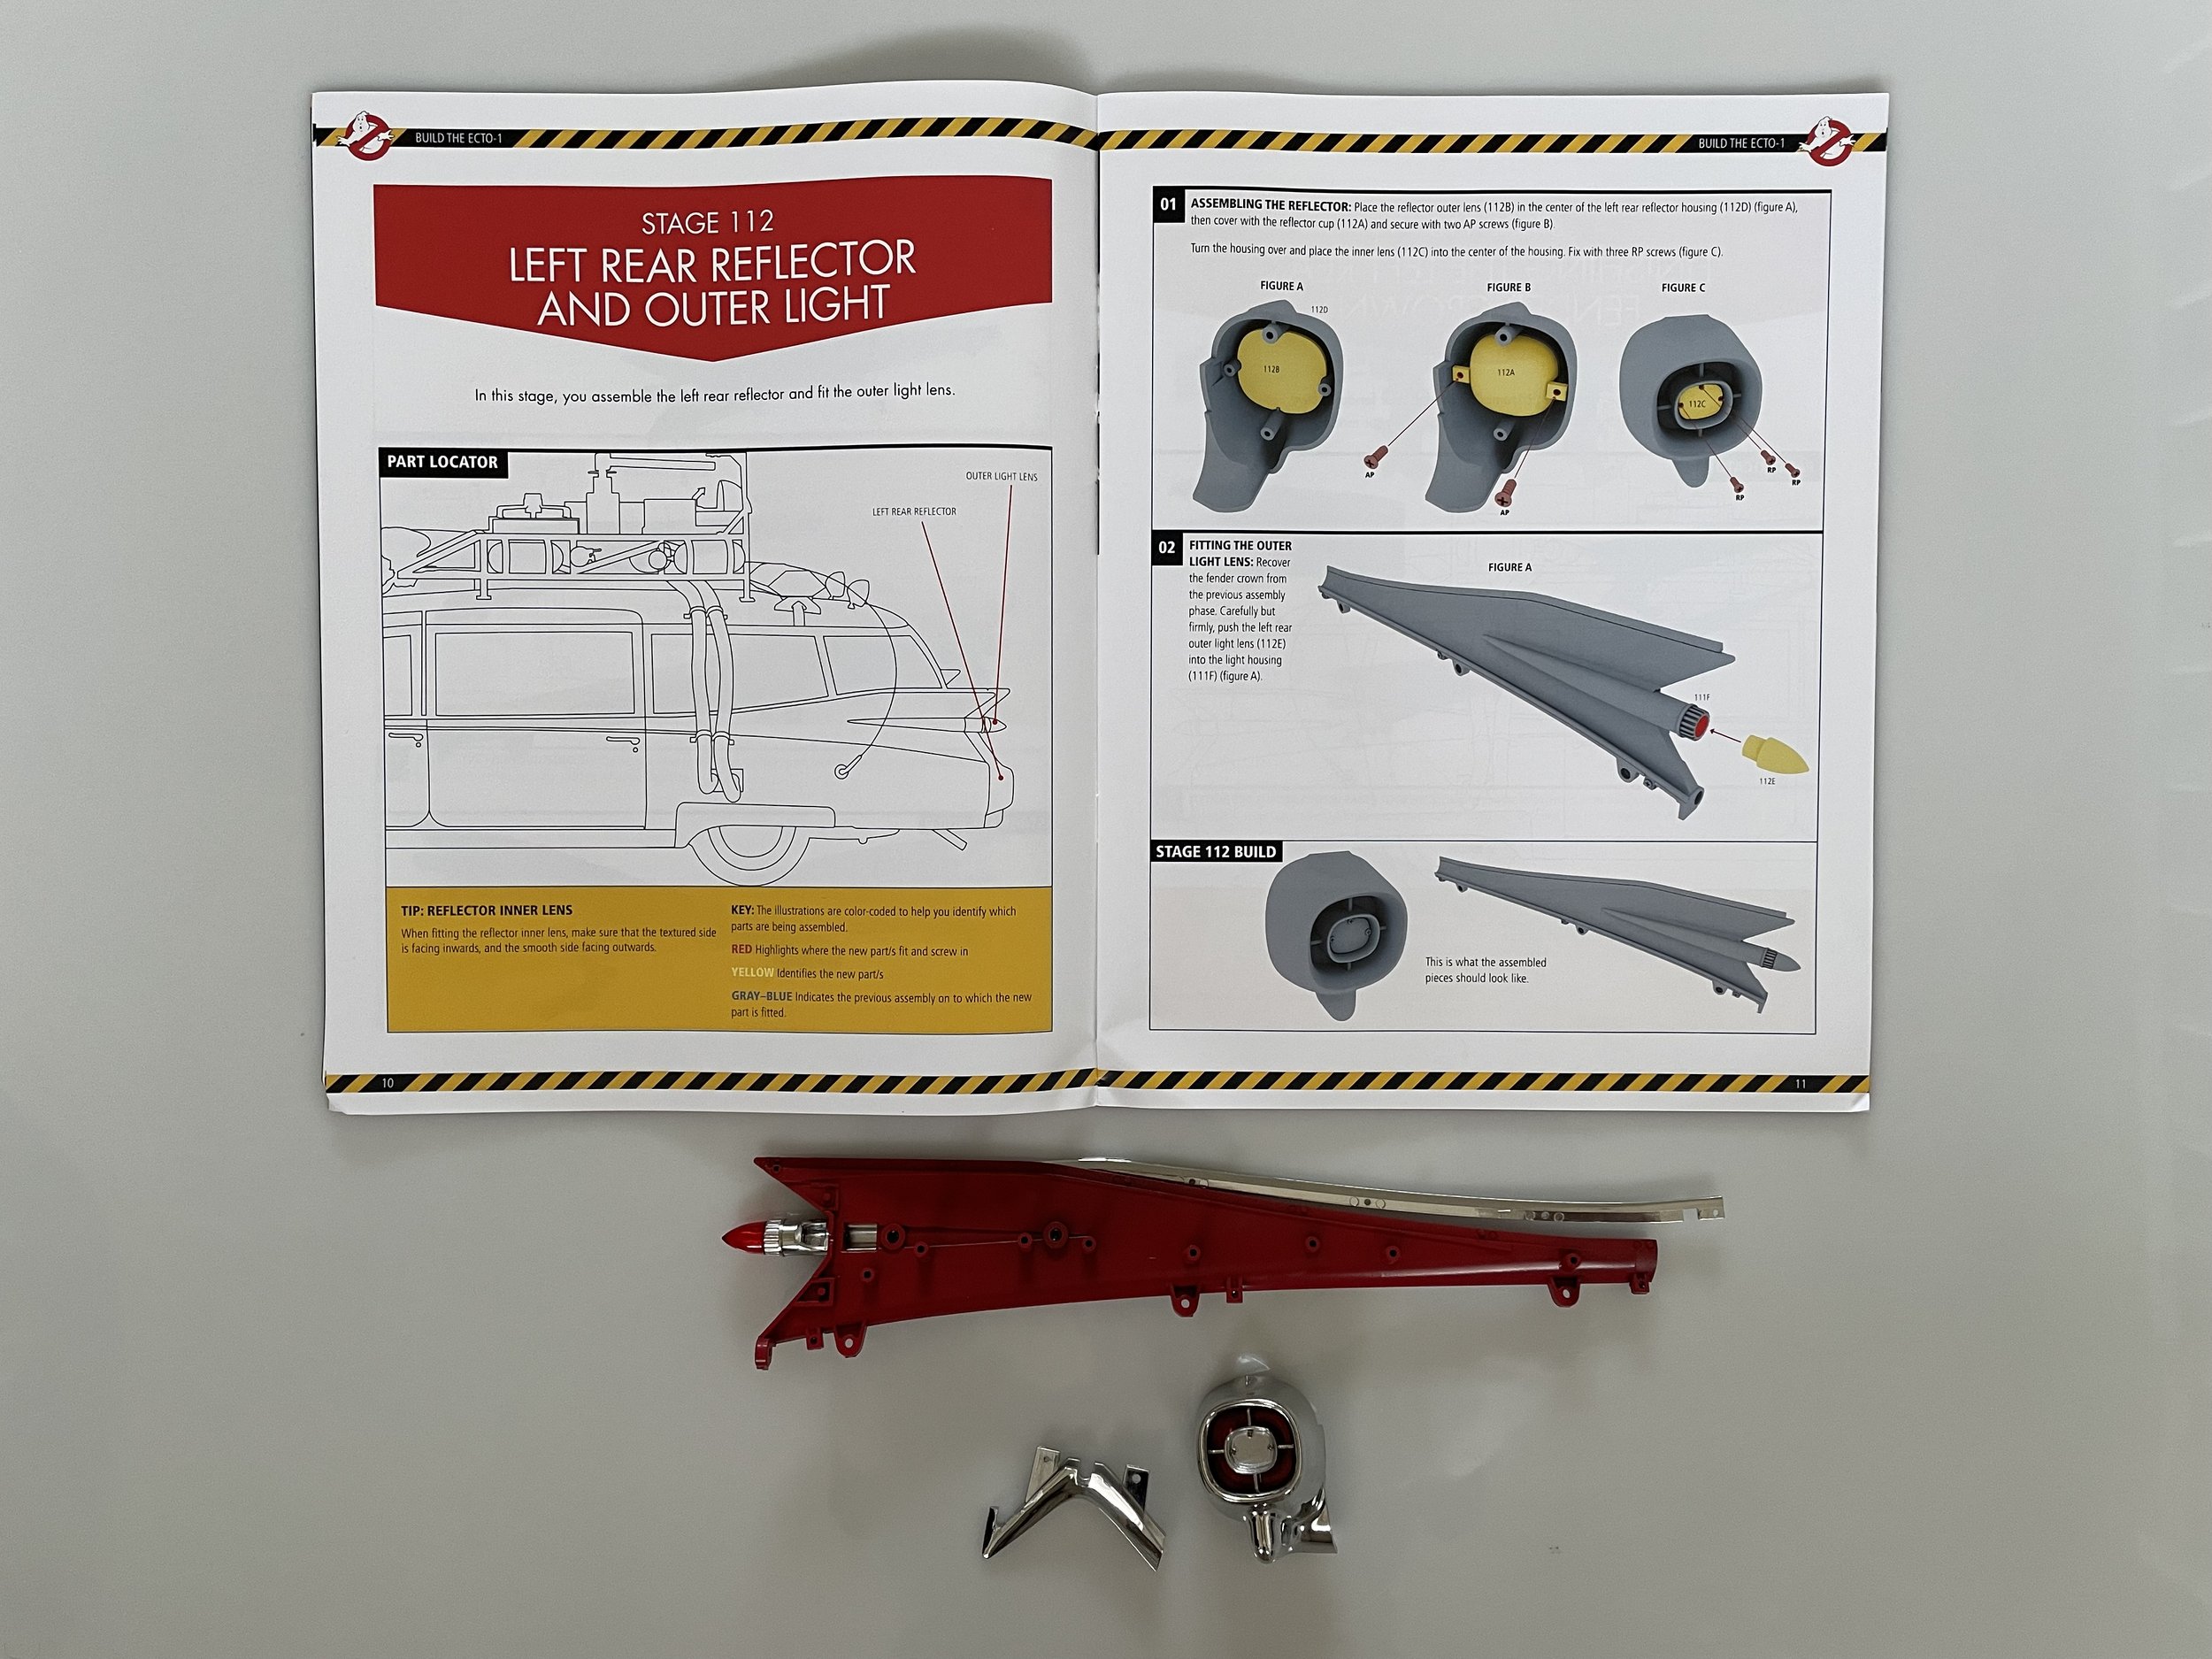
Stages 111, 112, and 113 will seem awfully familiar. Particularly if you’re saving up some shipments and building things in batches. These three stages are essentially the mirror of what was done in the previous issue for the Right Rear fin and reflector/lights. Refer back to our previous build blog for more on those and, well, just reverse it in your mind. A lot of the same challenges apply here to keep pieces in place while adhering them together with screws.
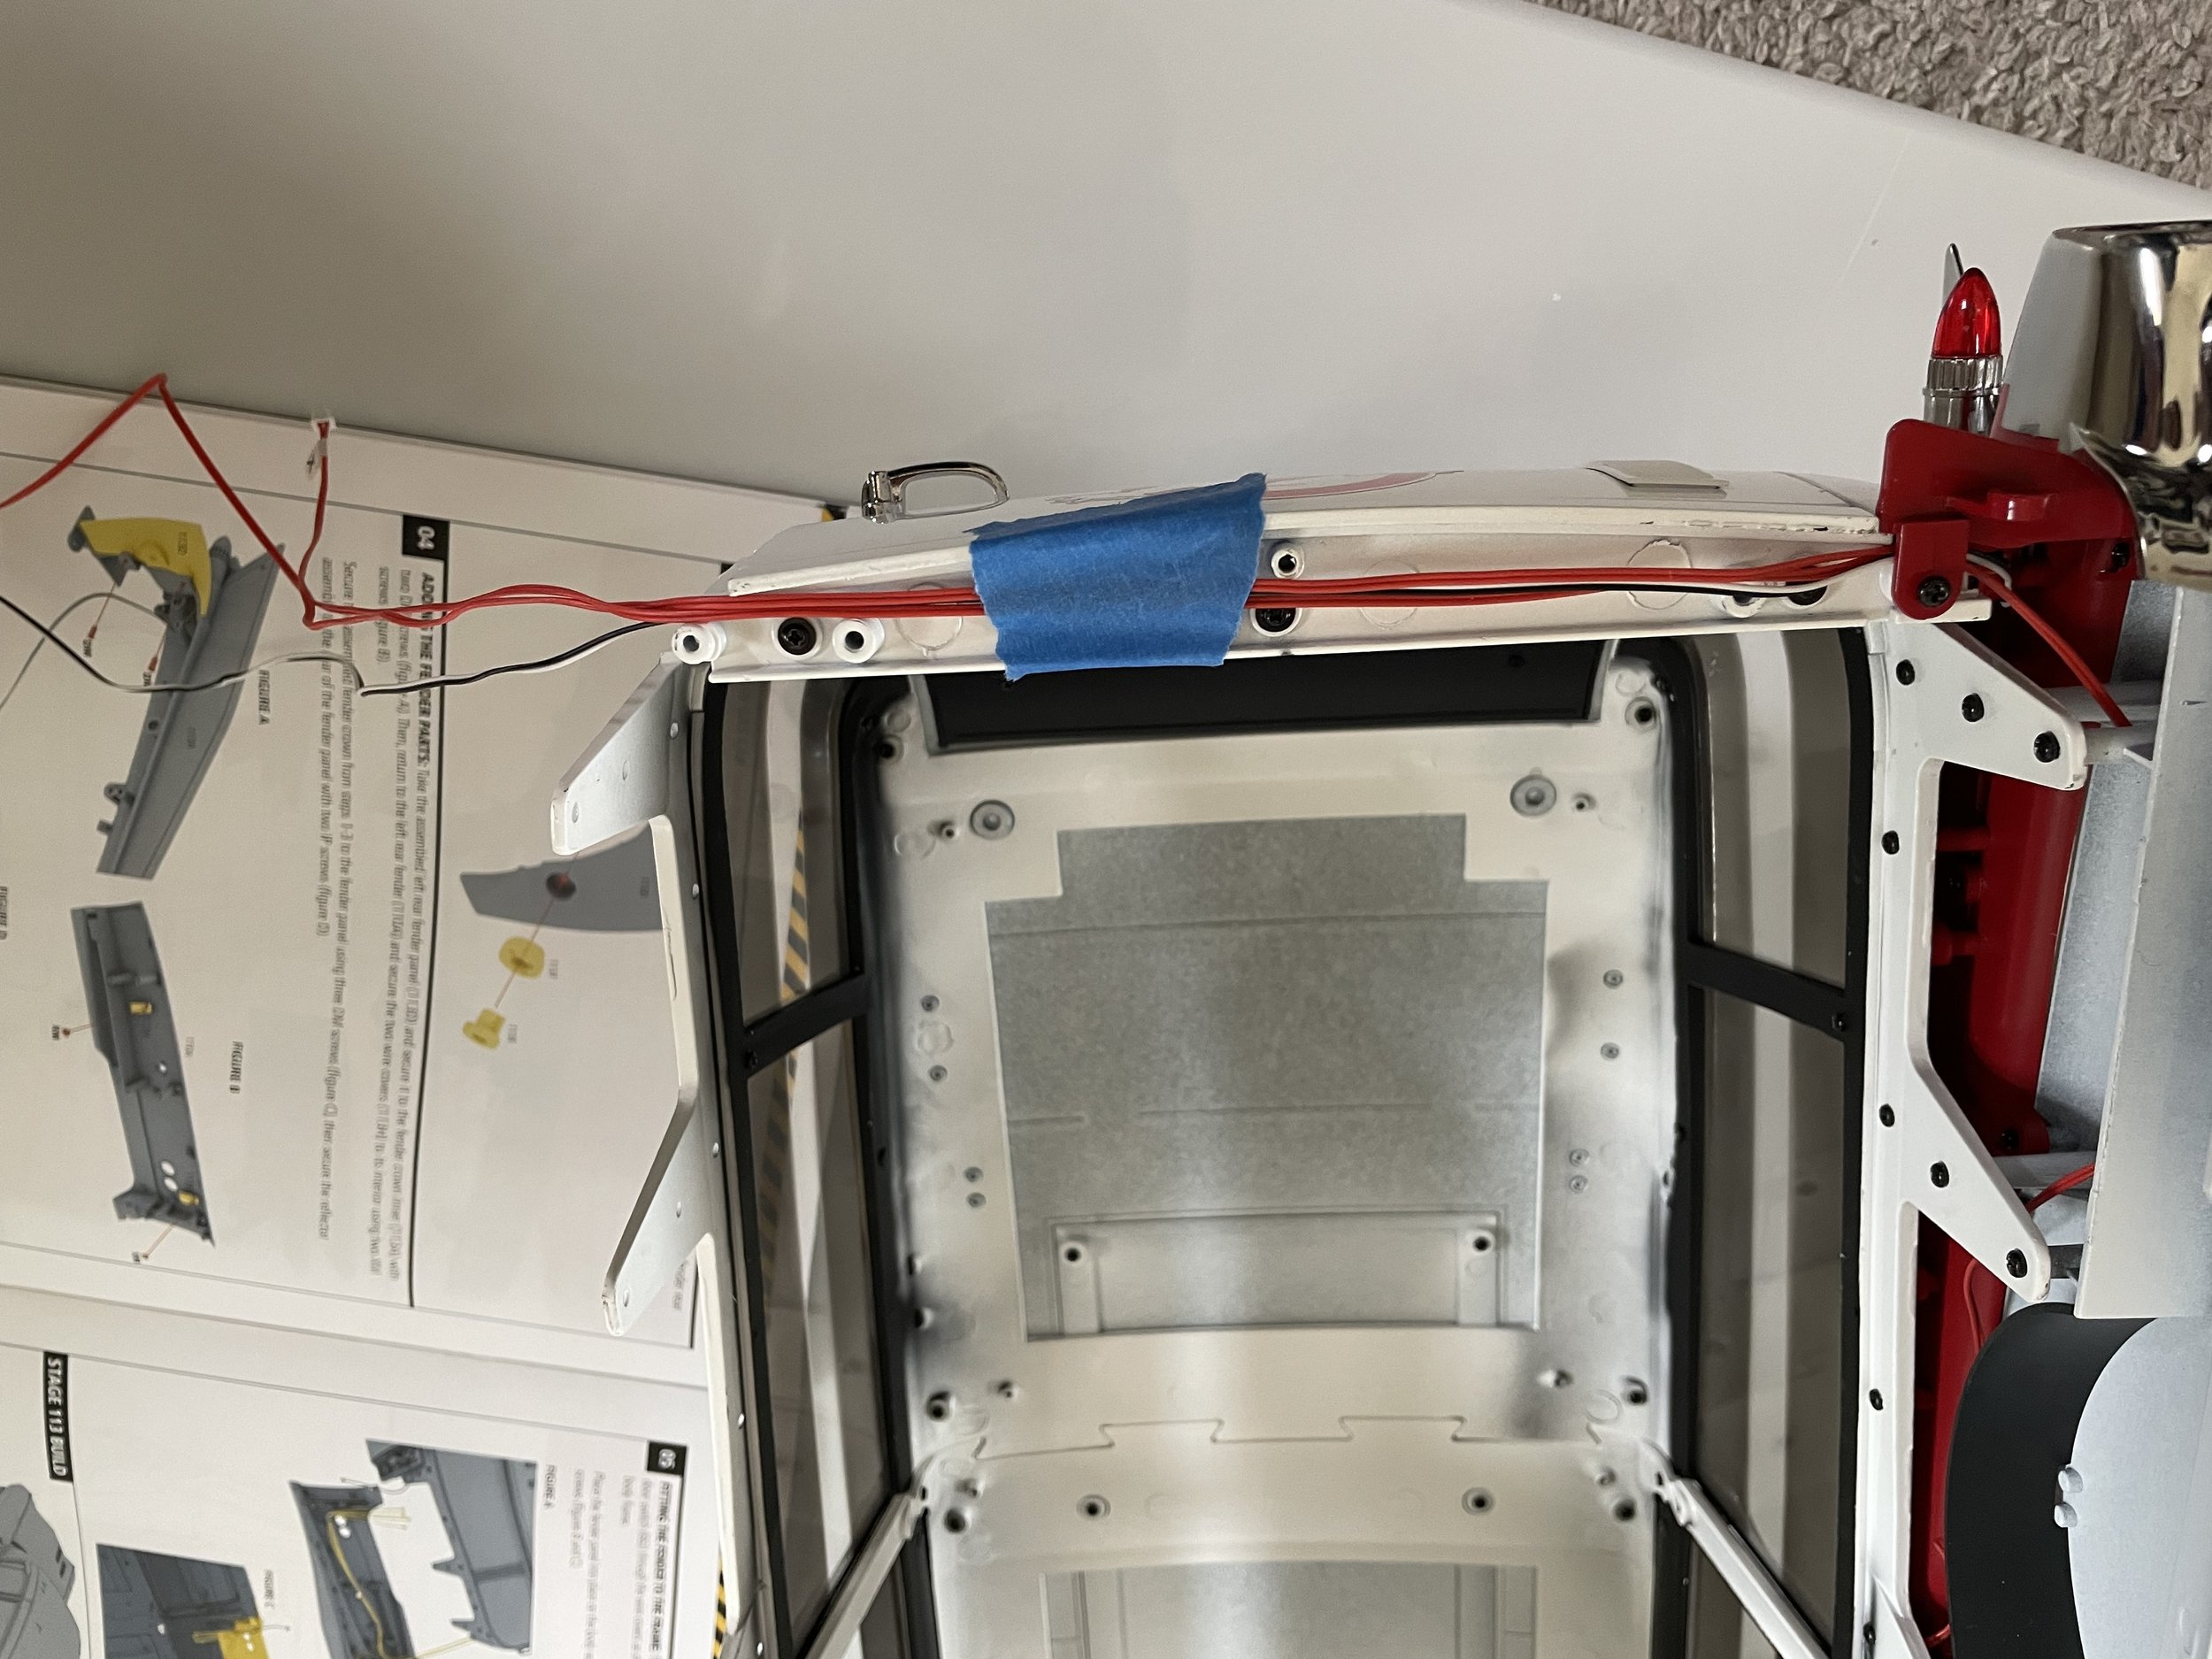
Once again, some painter’s tape really becomes your best friend, particularly as you’re trying to keep the wires in place behind the fins and the skirting (and to keep them attached to the small clips that are provided to wrangle a little). As more components of the car are permanently put into place, the wires do start to become a little less jumbled. But a little bit of easy to remove tape to the chassis of the car and/or a little wrap around some of the bundles will save you a world of headache.
Stage 114 is a great stage because it pretty much tops off the rear cargo area of the Ecto and, sans the roof rack gadgets and gak, gives you a pretty photogenic look at how the end product of your car is going to look!
Once again, wire wrangling ends up being one of the most difficult parts of this stage as you have to make sure that the wires for the lights are threaded into the small space just below the point where you’re about to place some chrome skirting. It takes a little bit of wiggling, but I was able to get the wires to stay in place as I snapped the skirting into place without tape this go-round.
It’s a bit unfortunate that I’ve gotten so used to flipping the car on its top to do work since, in the next issue, we’re about to start adding some of the roof rack lights and components. Which then means you need to very carefully place the car on its side when you’re doing work like this. Keen eyes will also note that I haven’t swapped out the passenger door for the fix that was received in the previous issue. At this point, reverse engineering to get the door off and back on might be a bit tricky and I’m still weighing just how much effort (and potential of breaking something) getting rid of that side-view mirror post is worth. Any thoughts? Let me know in the comments.
After you get the skirting on comes the fun part, attaching the rear license plate to the fender, then strapping that onto the back.
Once it’s on there, the rear end of the car is looking pretty close to done. You’ll see that some of the chrome trim that is applied with sticker glue is still peeling off. Basically all the points that I HAVEN’T dropped a little bit of Gorilla Glue onto are peeling up and sticking out. I’ve decided to wait until I’ve married the body of the car to the chassis before I start putting those little dabs of super glue on the trim and making sure they stop peeling, but it really is a nuisance. For all of the attention to detail and engineering on this awesome model, having those pieces just be metallic stickers that don’t permanently stick is a weird oversight. But easily remedied during a bit of clean up and polish when this is all said and done.
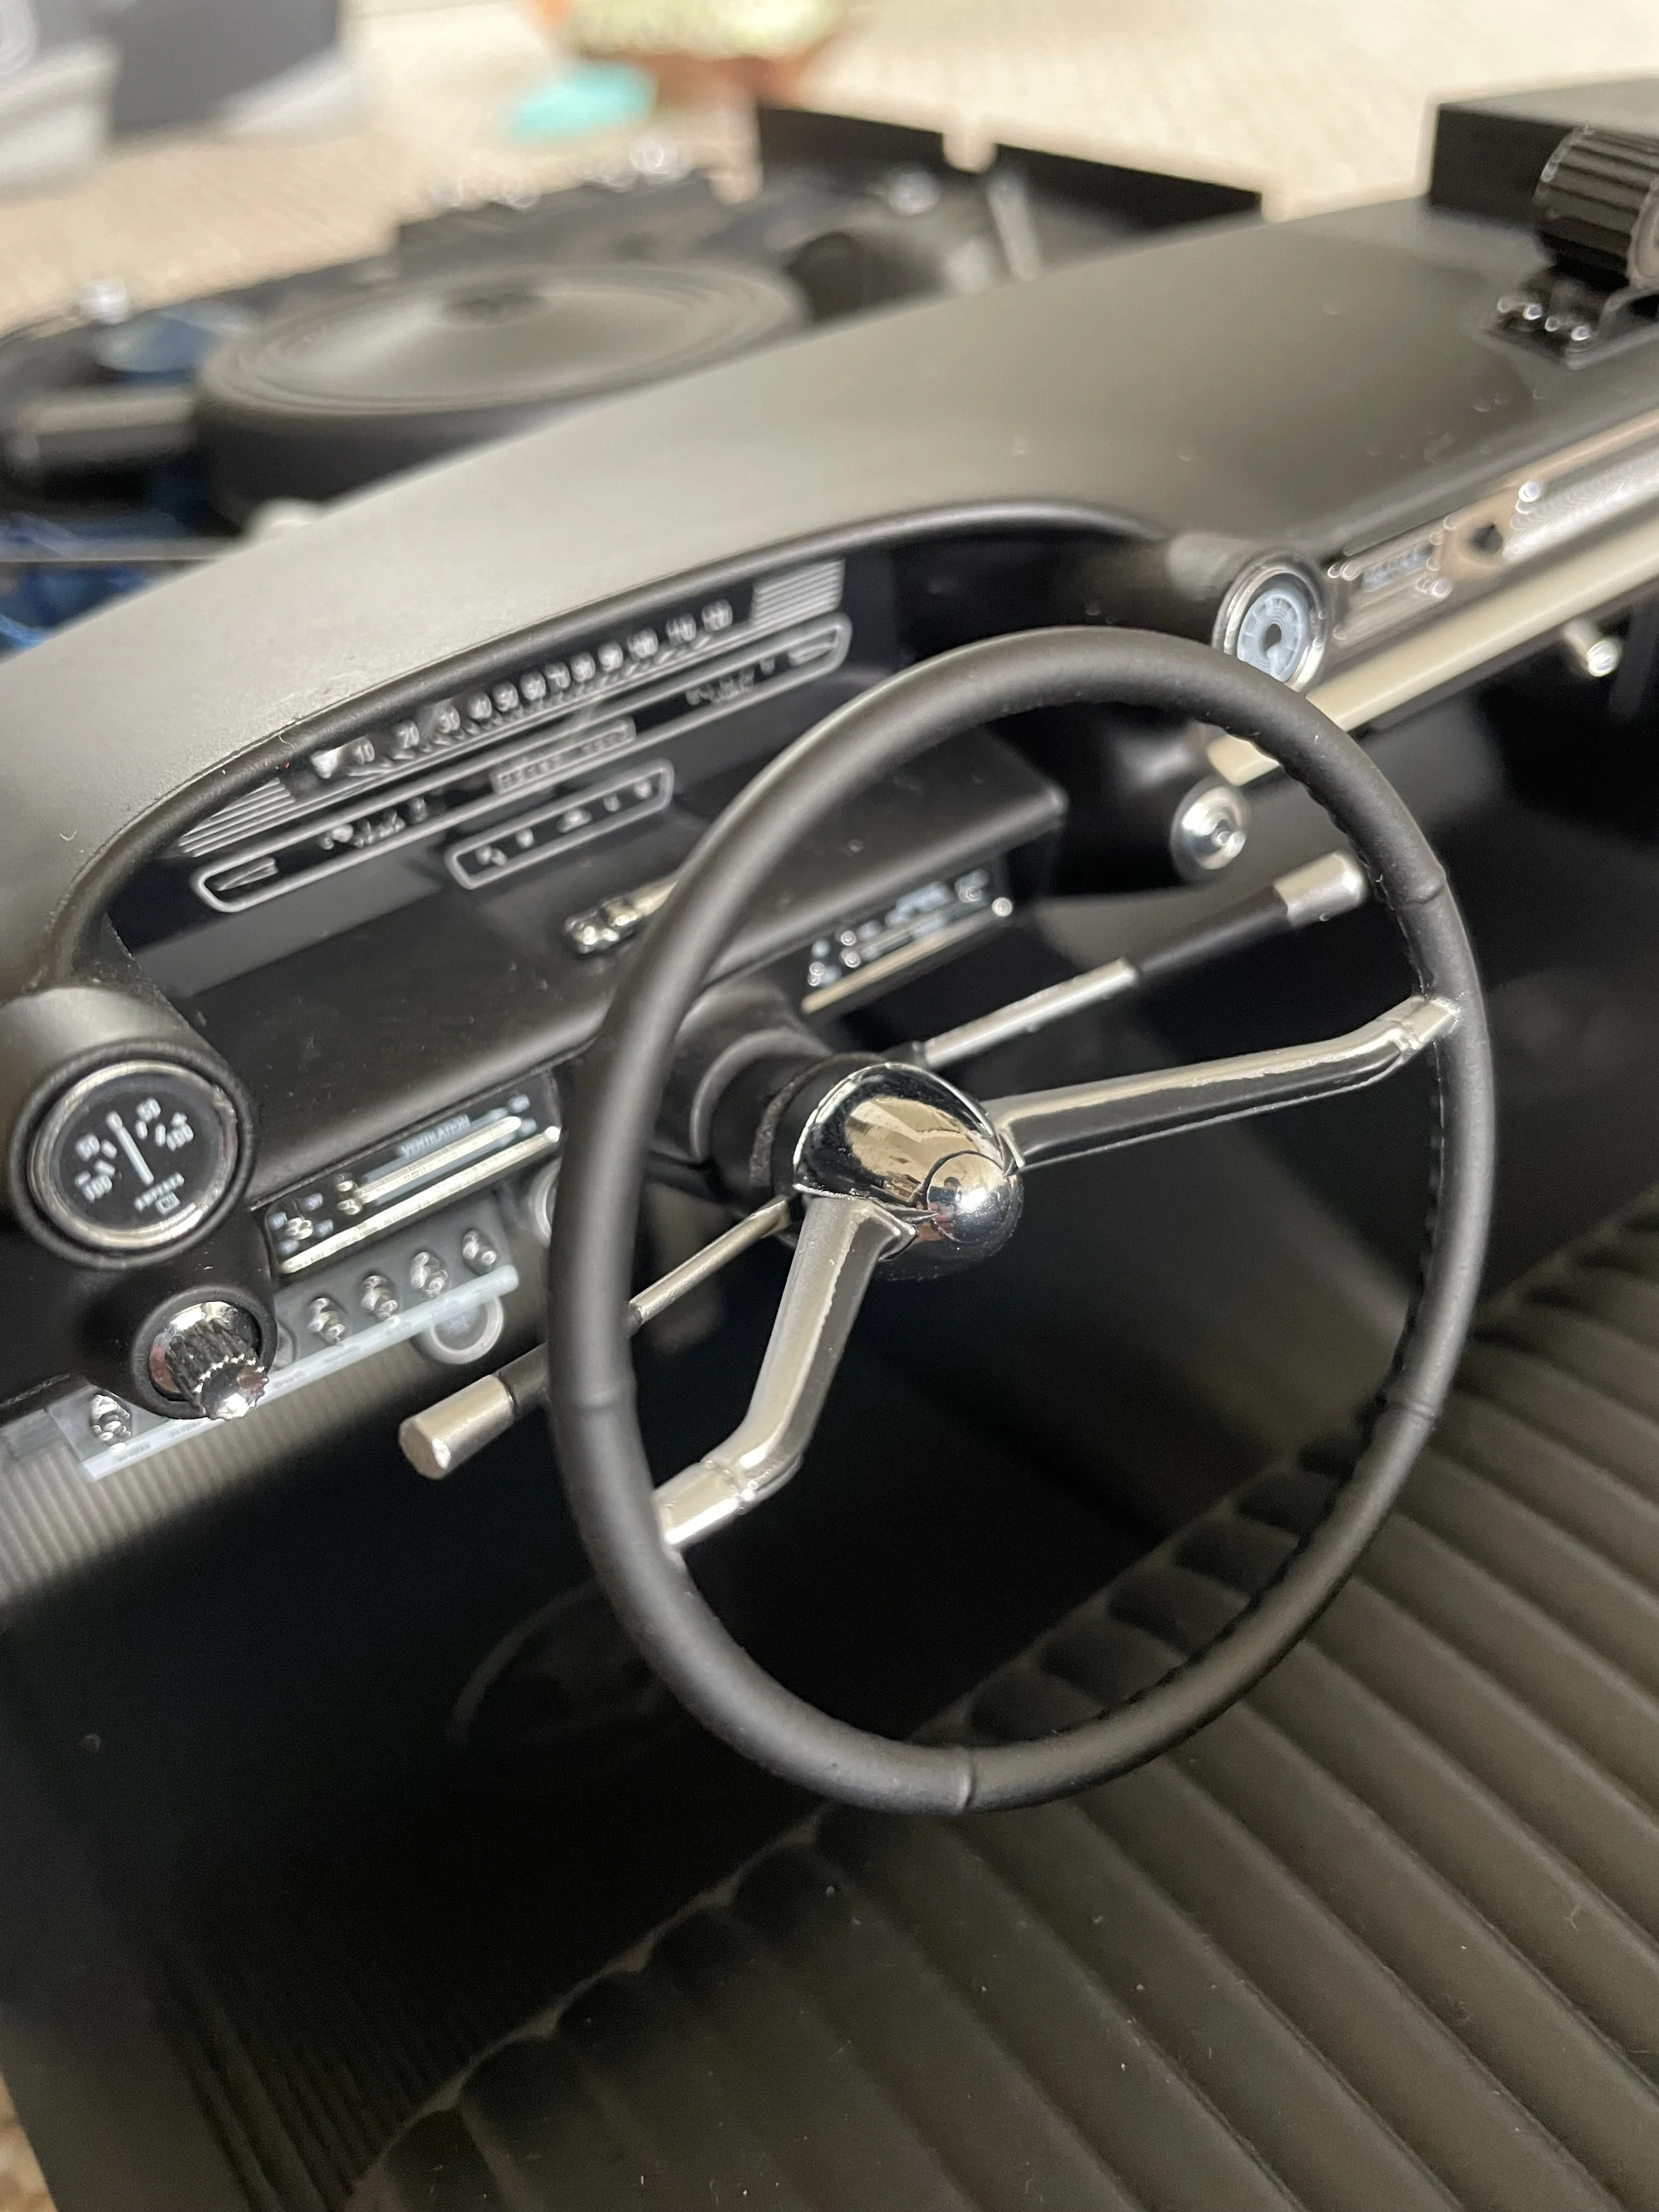
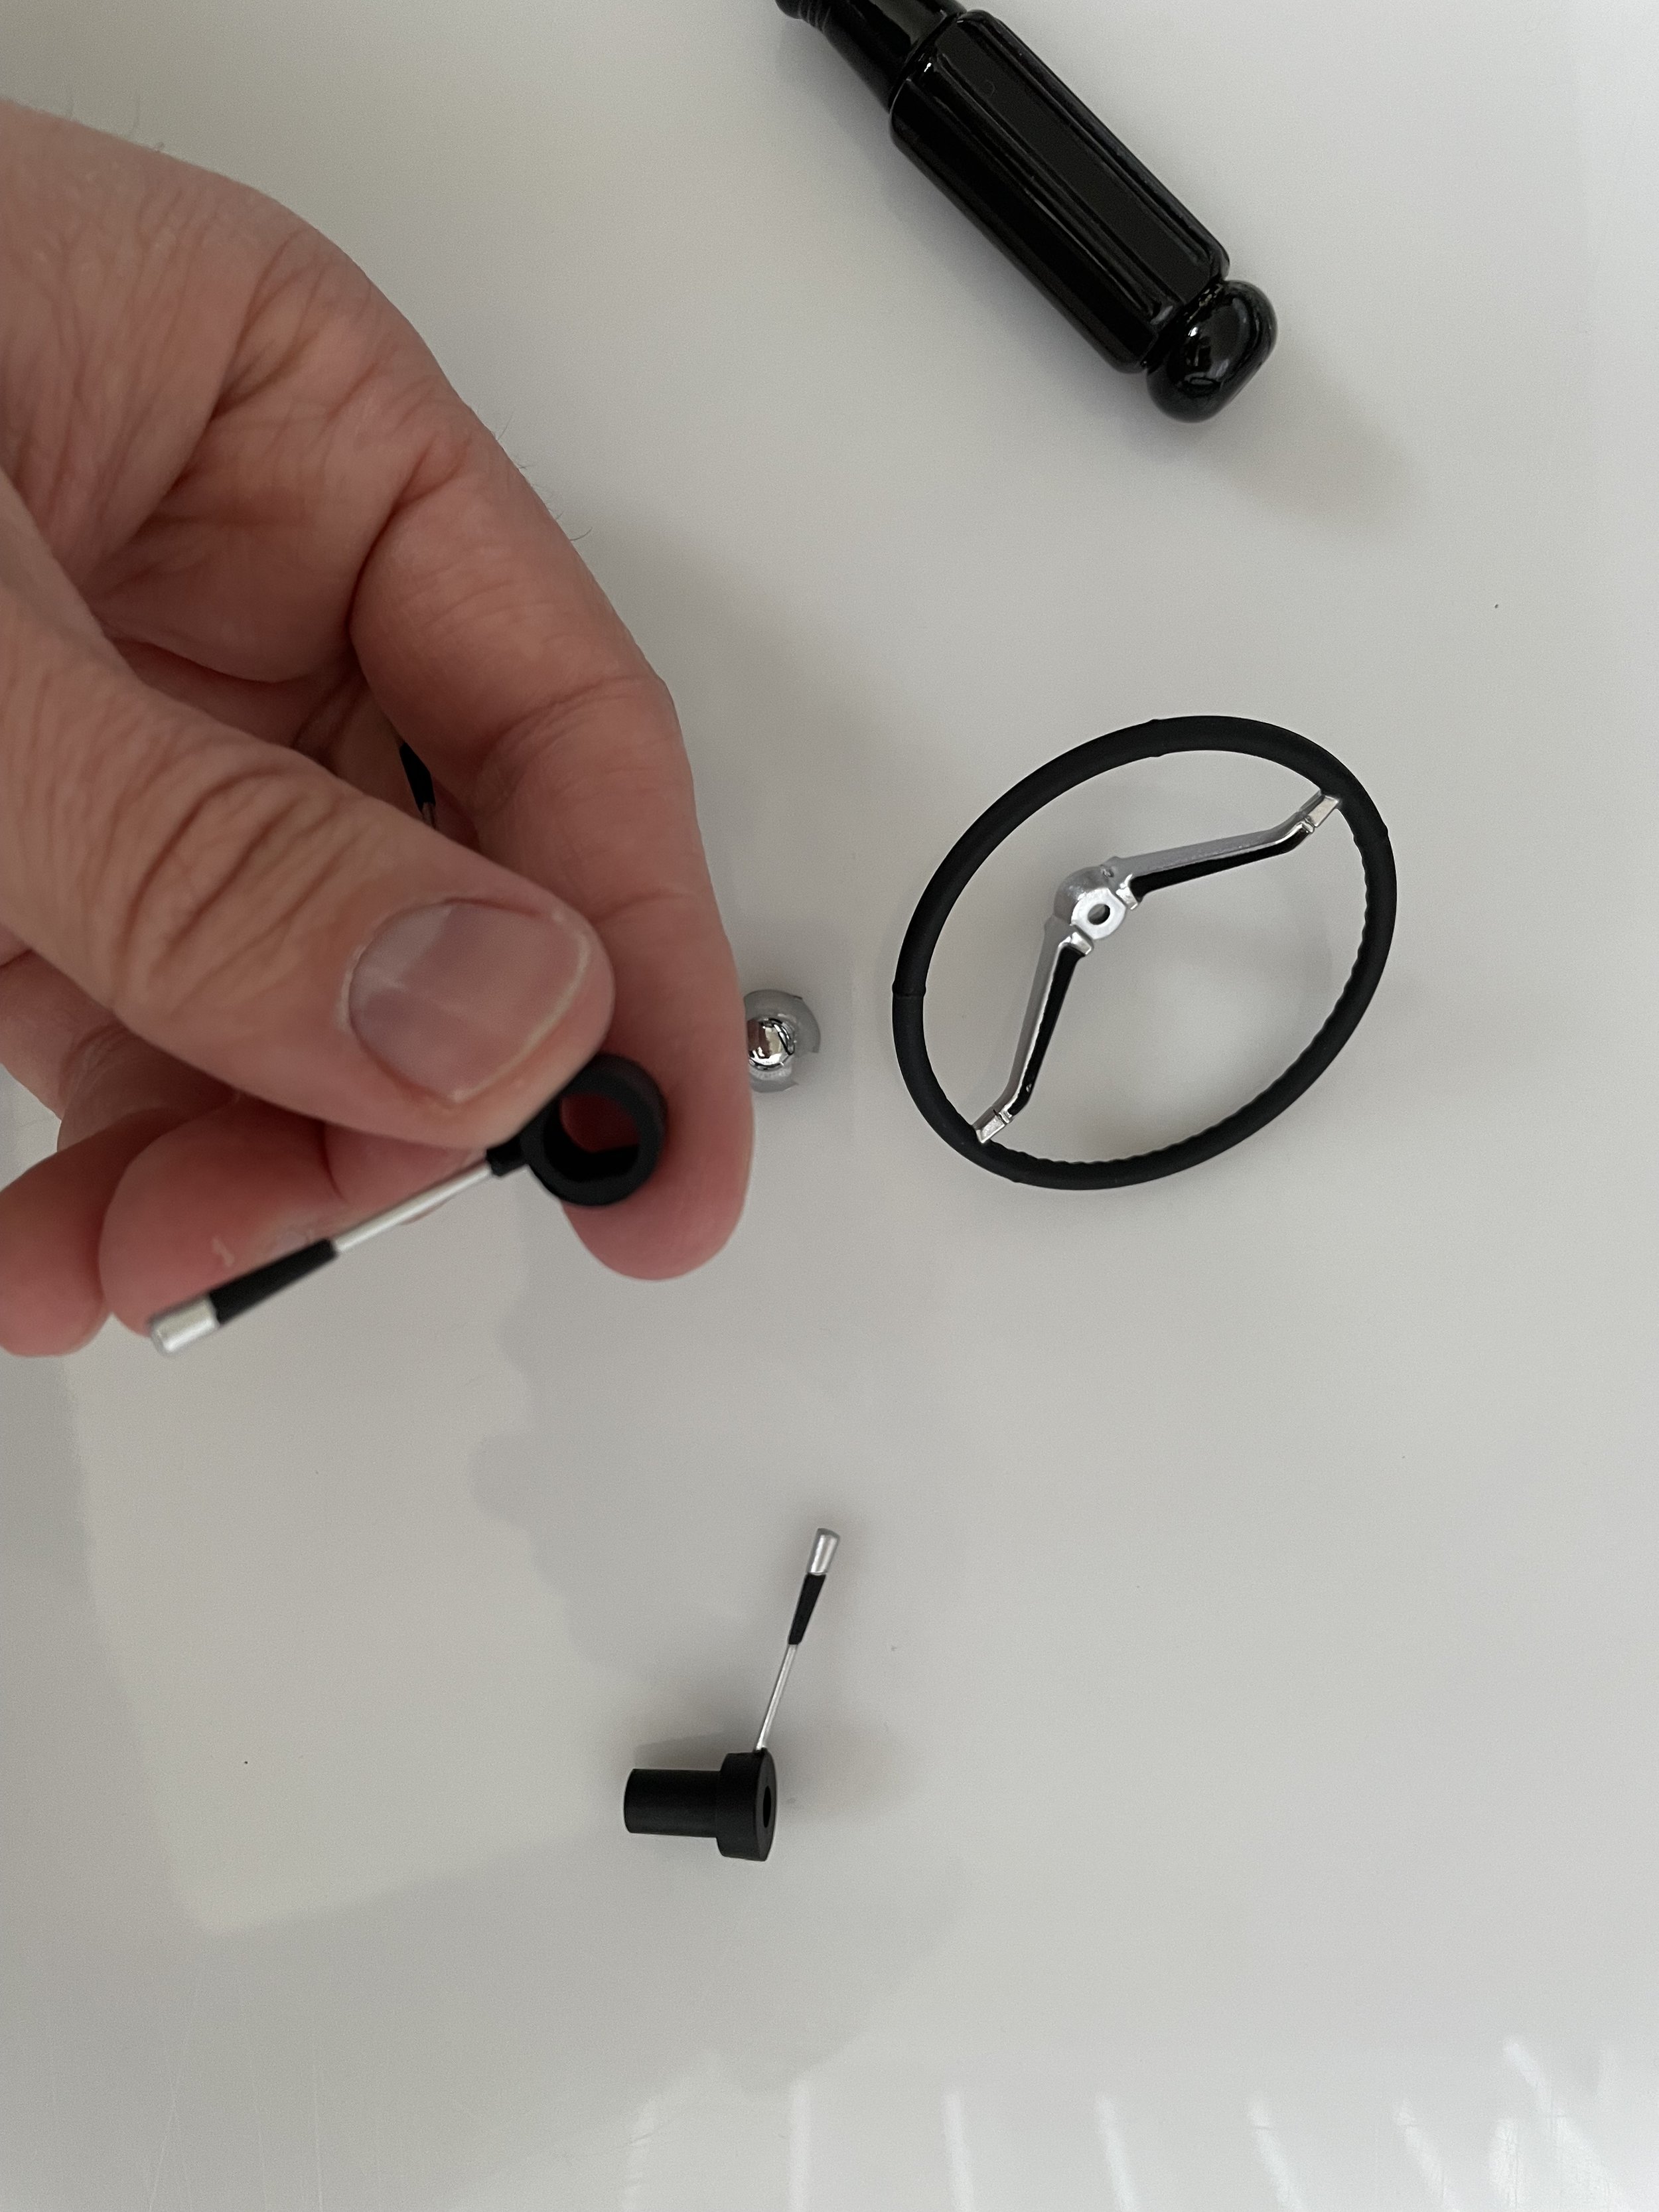
Lastly, in this issue, you receive the last component of the indicator arm that is going to finally allow you to affix the steering wheel onto the driver’s side column from way, way back in the day. Thank goodness I have one giant gallon-sized Ziplock that I kept all the small pieces that Eaglemoss wanted you to set aside for later (and that I didn’t lose said bag). Here’s the rub - the new indicator arm that is received, is pretty much identical to the one received previously with one exception, that it has a rubber spacer instead of being one full piece.
Don’t do as I did and put both of the indicator arms down and forget which is which because I had to cheat and go check out the amazing build happening at MyEcto1.com to remind myself which one was the new one and which one was the old one.
Once you swap out the indicator arm, it’s fairly easy to slot it onto the steering column and lock the wheel in place with a single screw. Then the end cap just snaps on there to cover up your work (another place that I feel might need just a little dab of Gorilla Glue to keep that from popping off at some point in the distant future).
After that, you’re all done and ready for the next issue!
Our thanks to the good folks at Fanhome for reviving the subscription build, sending us stages for review and for keeping the engine running for us all. If you’d like to start up your subscription, now is the time as they’re only offering new and continued subscriptions for a limited time… presumably because they’re dealing with the limited stock from the Eaglemoss days. So act now if you’re interested and happy building!
